
Why Pixel Art Looks Blurry and How to Fix It
Fix blurry pixel art by checking fractional scaling, image smoothing, export size, browser CSS, and source quality.
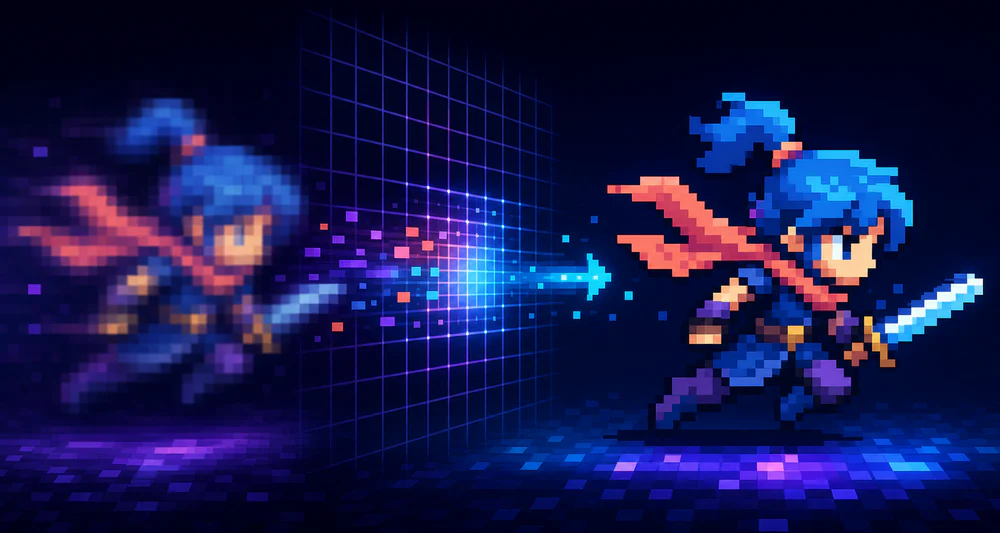
Pixel art usually becomes blurry after it is created, not while it is created. The file may be perfectly sharp. Then a browser, design app, or game engine displays it at a fractional size and blends neighboring pixels.
The fix is to find where interpolation entered the pipeline.
Check the file at 100%
Open the exported PNG at its native dimensions. If every block has a hard edge, the export is fine. If it is already soft, return to the source and export without resampling.
Do not judge a 128×128 image while an image viewer automatically fits it to a 700-pixel window. Set the view to 100%, 200%, or another whole-number zoom.
Scale by whole numbers
A 64-pixel image scales cleanly to 128, 192, or 256 pixels. At 150 pixels, each source pixel cannot occupy an equal number of display pixels. The renderer must blend or distribute them unevenly.
Use 2×, 3×, 4×, and other integer multiples whenever the layout allows.
If the destination has a fixed awkward size, consider creating the pixel grid for that destination instead of forcing an existing asset into it.
Disable browser smoothing
For pixel art on a website, CSS can request hard-edged scaling:
.pixel-art {
  image-rendering: pixelated;
}
Still give the image sensible width and height values. image-rendering helps with the sampling method; it cannot make fractional geometry ideal.
Also check whether a parent element uses a CSS transform such as scale(0.9). Transforms can move the image onto subpixels even when its declared width looks correct.
Check design tools and game engines
Many editors default to bilinear or bicubic resizing because those methods look good for photographs. Choose nearest neighbor when resizing pixel art.
In game engines, disable texture filtering and watch for:
- non-integer camera zoom;
- sprites placed between screen pixels;
- texture compression;
- automatic mipmaps;
- a UI canvas scaled by a fractional factor.
A crisp source cannot stay crisp if the camera samples it between pixels.
Avoid screenshot workflows
Do not make a pixel-art file by taking a screenshot of a preview. The browser may have already scaled the preview, and the operating system may add display scaling.
Export directly from PixelTool as PNG or SVG. If you need a larger PNG, choose a proper output size rather than enlarging a screenshot.
Look for halos, not just blur
A pale or dark fringe around transparent artwork is a related problem. It often comes from semi-transparent edge pixels created during background removal or resizing.
Inspect the image on both black and white backgrounds. For classic hard-edged sprites, edge pixels should usually be either fully opaque or fully transparent.
A short debugging order
- Inspect the exported file at 100%.
- Confirm the displayed dimensions are an integer multiple.
- Enable nearest-neighbor or pixelated rendering.
- Remove fractional transforms and camera positions.
- Disable filtering, compression, or mipmaps where appropriate.
- Re-export instead of taking a screenshot.
Change one stage at a time. Once the softness disappears, you have found the part of the pipeline that needs a permanent setting.