
A Clean Transparent-Background Workflow for Pixel Art
Prepare, convert, inspect, and export pixel art with transparent backgrounds while avoiding halos and rough edges.
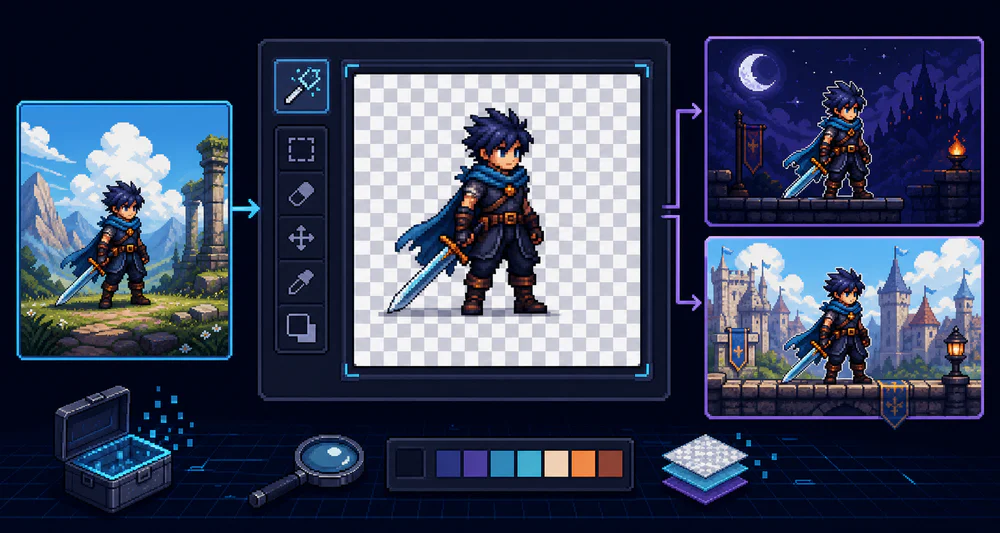
Transparent backgrounds make pixel art easier to reuse, but they also reveal every weak edge. A cutout that looks fine on white can show a pale halo on a dark game scene.
The cleanest workflow handles the background before conversion, then checks the result after export.
Start with clear separation
Choose a source where the subject does not share colors with the background. Dark hair against a black wall is difficult. A dark subject against a mid-light neutral background is much easier.
Use even light and avoid strong cast shadows. A shadow may be part of the photograph, but it is often unwanted when the sprite will sit on different surfaces.
Leave space around thin parts such as hair, antennae, handles, and legs. Overlapping shapes are harder to separate later.
Remove the background at the right stage
If you have a good background-removal tool, create the cutout before converting to pixel art. This prevents background colors from entering the reduced palette.
Inspect the cutout at high zoom:
- remove leftover islands between limbs or objects;
- check soft hair edges;
- erase the original ground shadow if it is not needed;
- avoid a feathered edge that spans many pixels.
For hard-edged pixel work, a slightly firm cutout is usually better than a soft photographic matte.
Convert without destroying the silhouette
Load the prepared image into PixelTool. Increase pixel size gradually. Thin features may disappear earlier than the main body.
If an important strap, ear, or handle becomes intermittent, use a finer block size. Do not compensate by adding more colors; this is a geometry problem.
Reduce the palette after the outline feels stable. Keep enough contrast between the subject’s edge and its internal shadows.
Watch for matte halos
A halo appears when edge pixels contain a mixture of subject color and the old background color. On a new background, that mixture becomes visible as a fringe.
Test the export on:
- solid white;
- solid black;
- a saturated color;
- a representative game or website background.
If the fringe changes color with the old background, return to the cutout and tighten the matte. Resizing with smooth interpolation can also reintroduce semi-transparent edges.
Choose the export format
Use PNG for game sprites, avatars, stickers, and broad compatibility. PNG supports per-pixel alpha and is the safest transparent raster format for the web.
Use SVG when the pixel blocks should scale freely in a browser or vector workflow. Confirm that the destination accepts SVG uploads.
JPEG cannot preserve transparency.
Keep shadows separate when possible
For games and interface elements, consider exporting the subject without a ground shadow. Add a reusable shadow in the engine or layout. It will adapt better to different surfaces and lighting.
If the shadow is part of the style, make it deliberate: compact, consistent in direction, and not borrowed from the original photo.
Final export checklist
- The silhouette is complete at the intended display size.
- No old background color remains between small gaps.
- Edge pixels look clean on light and dark surfaces.
- The image has not been resized with smooth filtering.
- PNG or SVG transparency survives in the target app.
- A copy of the clean master is saved before later resizing.
Transparency is not just “no background.” It is an edge-quality decision. Test those edges in context, and the asset will travel cleanly between projects.