
Turning Photos into Game Sprites: A Practical Starting Workflow
Turn a clean photo into a usable game-sprite starting point with better silhouettes, controlled colors, consistent scale, and export checks.
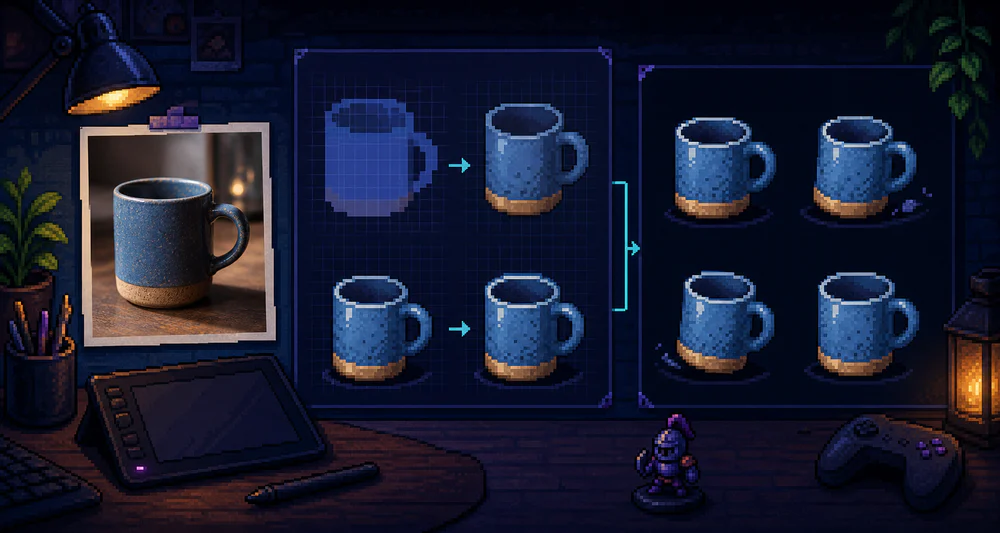
A converted photo is rarely a finished game sprite. It can, however, be a strong starting point for proportions, lighting, and palette.
The useful mindset is reference first, asset second. Conversion removes detail; you still decide what the game needs.
Photograph for the sprite you want
Use a plain background and soft directional light. Keep the camera near the height the object will have in the game. A dramatic wide-angle photo may look interesting, but it creates proportions that are hard to reuse.
For characters or objects:
- leave space around the silhouette;
- avoid motion blur;
- keep limbs and handles separated from the body;
- remove cast shadows if the game will supply its own;
- shoot related assets under the same light.
Consistency across a set matters more than perfection in one sprite.
Pick the in-game size early
Decide whether the sprite will appear around 32, 64, or 128 pixels tall in the final game. Then test the conversion at that apparent size.
A detailed 512-pixel preview can hide problems. At 48 pixels tall, a hand may merge into a jacket and a chair leg may vanish.
In PixelTool, increase the block size until the silhouette feels like a game asset rather than a small photograph. Keep enough blocks for the defining features, not every edge.
Simplify the palette as a set
If each photo is converted independently, one object may have cool shadows while another has purple or green shadows. They will not feel like they belong in the same world.
Choose a shared target range, such as 16 or 24 colors, and keep common neutrals consistent. You can refine the exported sprites in a pixel editor afterward.
Pay special attention to:
- the darkest outline or contact color;
- the brightest highlight;
- skin tones;
- metal, wood, and fabric families;
- team or interaction colors.
Clean the silhouette by hand
Automatic conversion follows the source. It may preserve a stray hair, a reflection, or a half-visible background edge. After export, remove isolated pixels and smooth accidental stair-steps.
This small cleanup is where a generated starting point becomes a deliberate sprite.
Do not over-outline everything. A dark contour can help against varied backgrounds, but internal edges often read better through color contrast.
Build animation from a stable base
For an animated character, finish one neutral frame first. Lock:
- canvas size;
- ground line;
- head height;
- palette;
- light direction.
Duplicate that frame and change the pose. If you convert a separate photo for every frame, proportions and colors will drift.
Photos are excellent pose references, but the sprite sheet still needs a single internal system.
Export and test inside the engine
Use PNG for most sprite workflows. Preserve transparency and disable smoothing or texture filtering in the engine. Place the asset in a representative scene, including both bright and dark backgrounds.
Check for:
- a one-pixel halo around the cutout;
- uneven scale compared with nearby assets;
- details that flicker while moving;
- shadows baked into the image;
- color values that disappear against the level art.
The best conversion is not the one that looks most detailed in a browser tab. It is the one that reads immediately while the game is moving.